Connecting a WebFlow form to Default
Step 1: Connect your Webform
In the Default app go to Navigation > Forms > Webforms. Select the Connect your Webform option.
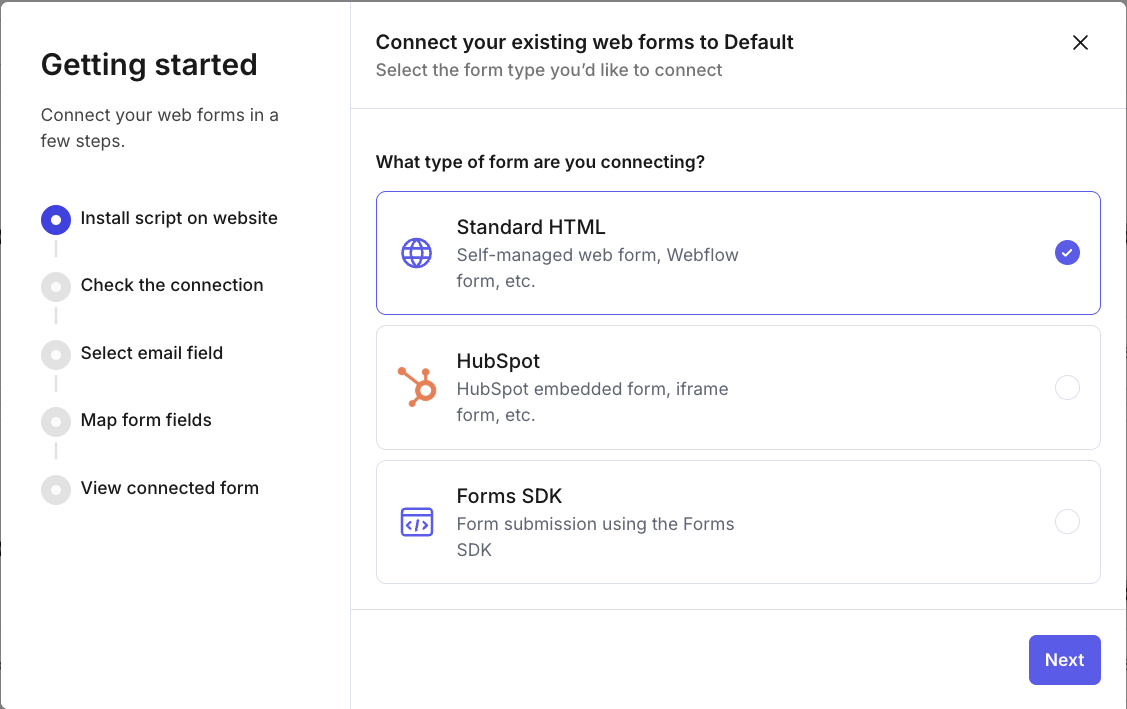
You'll want to choose the Standard HTML option.
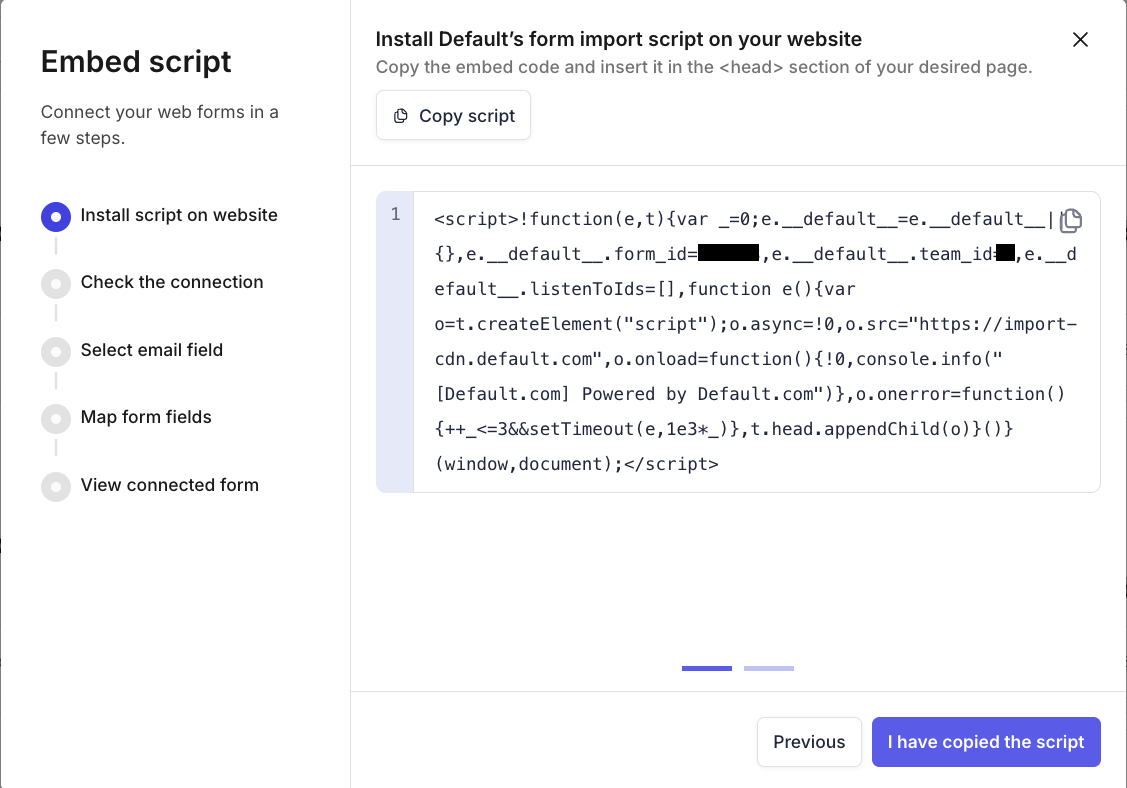
This is the script you will receive from Default that will be required to paste into the <head> of your WebFlow page.
Step 2: Identify your form in WebFlow
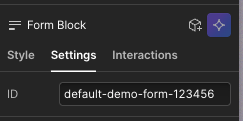
Below is an image displaying the ID that can be set on the form block itself so we can have an identifier to plug into Default so the listener script knows which form to listen to.
This same ID should be set here in Default:
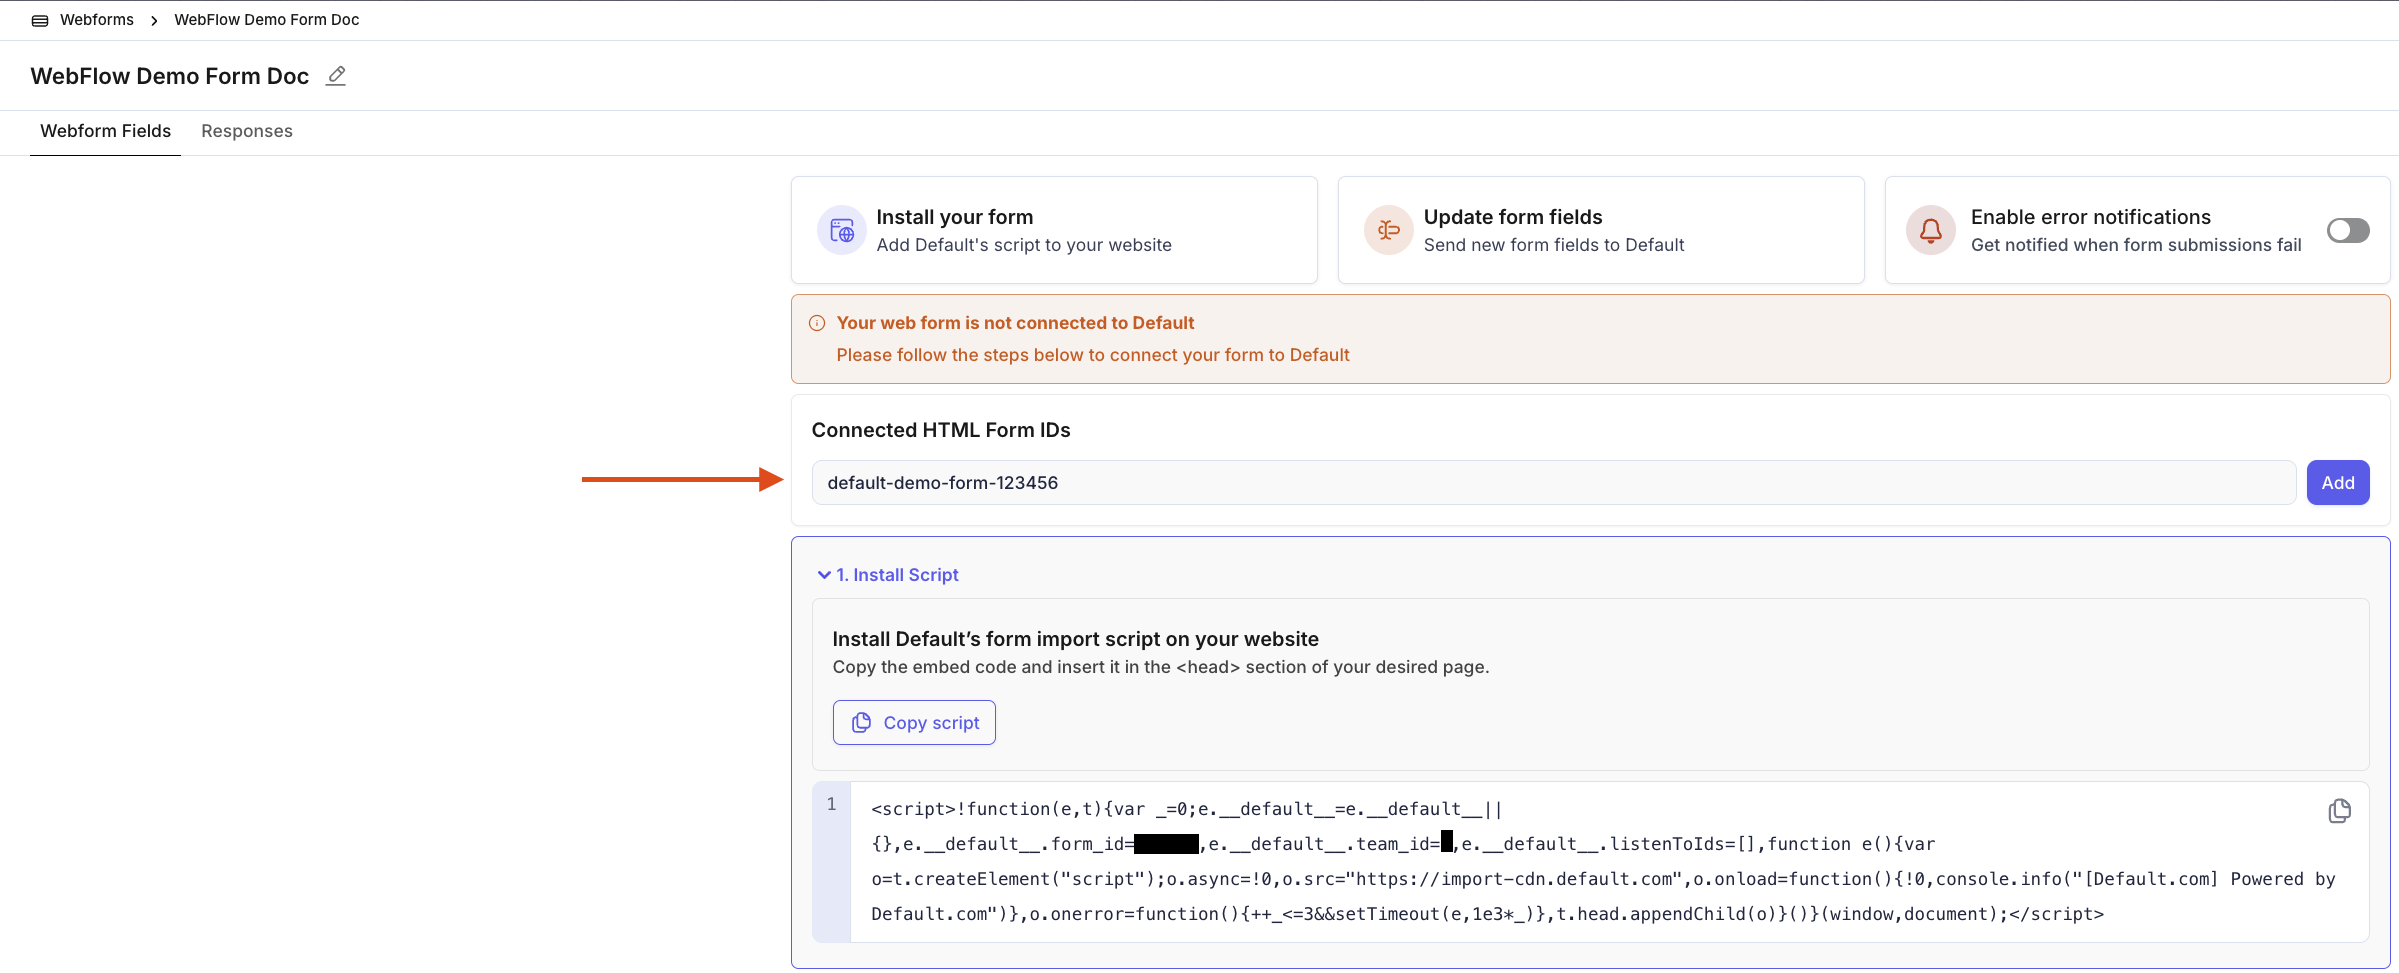
Once this ID is added to the Default section shown above the script shown in this image will be updated and ready to copy into WebFlow.
Step 3: Setting the Default listener script into WebFlow
Open the page in Webflow Designer.
Click the Page Settings (⚙️) for that page (in the Pages panel).
Scroll to Custom Code.
Paste the snippet into Inside
<head>tag.Save, then Publish.
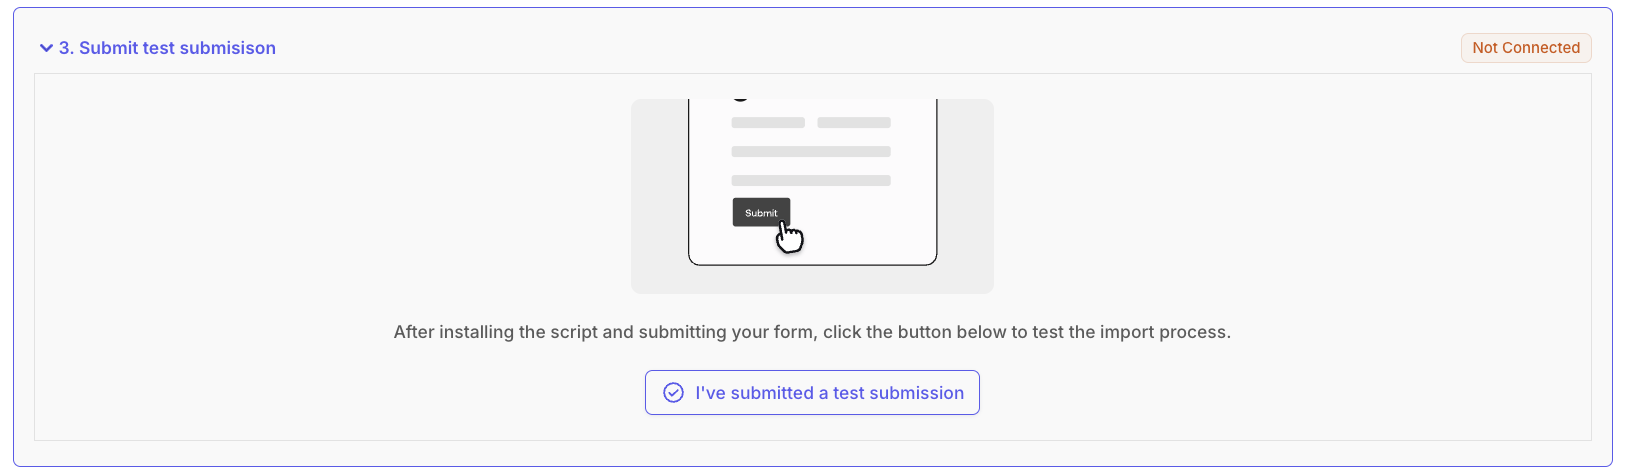
Step 4: Test conntection
Webflow forms redirect to a success state by default. Make sure your form's redirect setting is not configured to navigate to another page on submission, as this will prevent Default from being able to parse your responses. In Webflow, check your Form Block settings and ensure the Redirect URL field is left blank — use Webflow's default success/error message states instead.
Test your setup by submitting a sample response through your WebFlow form. After submission, head to Default and select I've submitted a test submission.
Step 5: Map form fields
Map your form fields as best as you can in Default and publish the form! This form is now connected with Default and is ready to be used!
Event callbacks
Our webform script also offers the ability to listen to form submissions and meeting bookings, so you can pass that data on to other frontend integrations through JavaScript callbacks:
// Register a callback on form submission
  window.__default__.onSubmissionSuccess((response) => {
    console.log('Form submitted successfully!', response);
  });

  // Or register all callbacks at once
  window.__default__.registerSubmissionCallbacks({
    onSuccess: (response) => console.log('Success!', response),
    onError: (error) => console.error('Error:', error),
    onSchedulerDisplayed: (data) => console.log('Scheduler shown'),
    onSchedulerClosed: (data) => console.log('Scheduler closed'),
    onMeetingBooked: (data) => console.log('Meeting booked!', data.payload),
    onRedirect: (data) => console.log('Redirecting to:', data.redirectUrl)
  });
Note: To add callback scripts in WebFlow, use an Embed element placed after your form, or add the code to Page Settings > Custom Code > Before </body> tag.