Meeting notifications
Notifications are now template based, and can be created here. You must create templates before being able to add or reference them from your event. Meeting notifications are sent as a confirmation that the meeting was just booked.
Configure Meeting Notifications
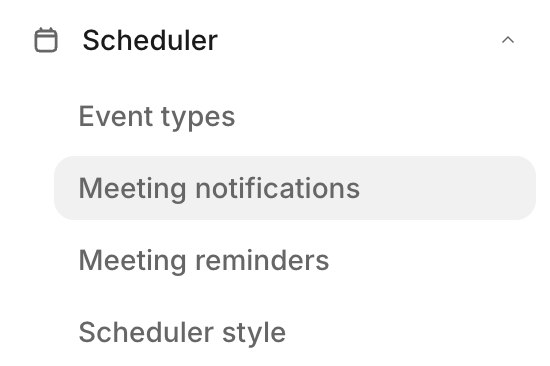
Step 1: Go to the navigation bar and click on Scheduler and Meeting notifications.
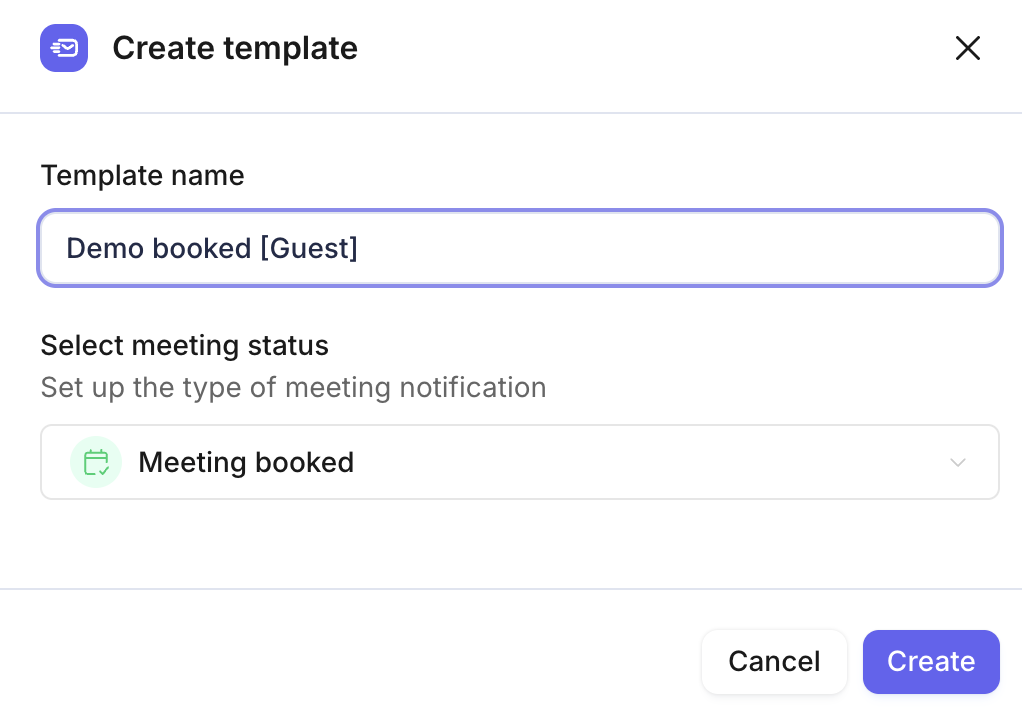
Step 2: Create new template. Add template name and select meeting status.
Tip: Include the [Guest] and [Host] label when configuring the Template name to differentiate between the Guest and Host notification when applying each to the event .
Step 3: Configure who can receive replies to the notification, Select Reply options.
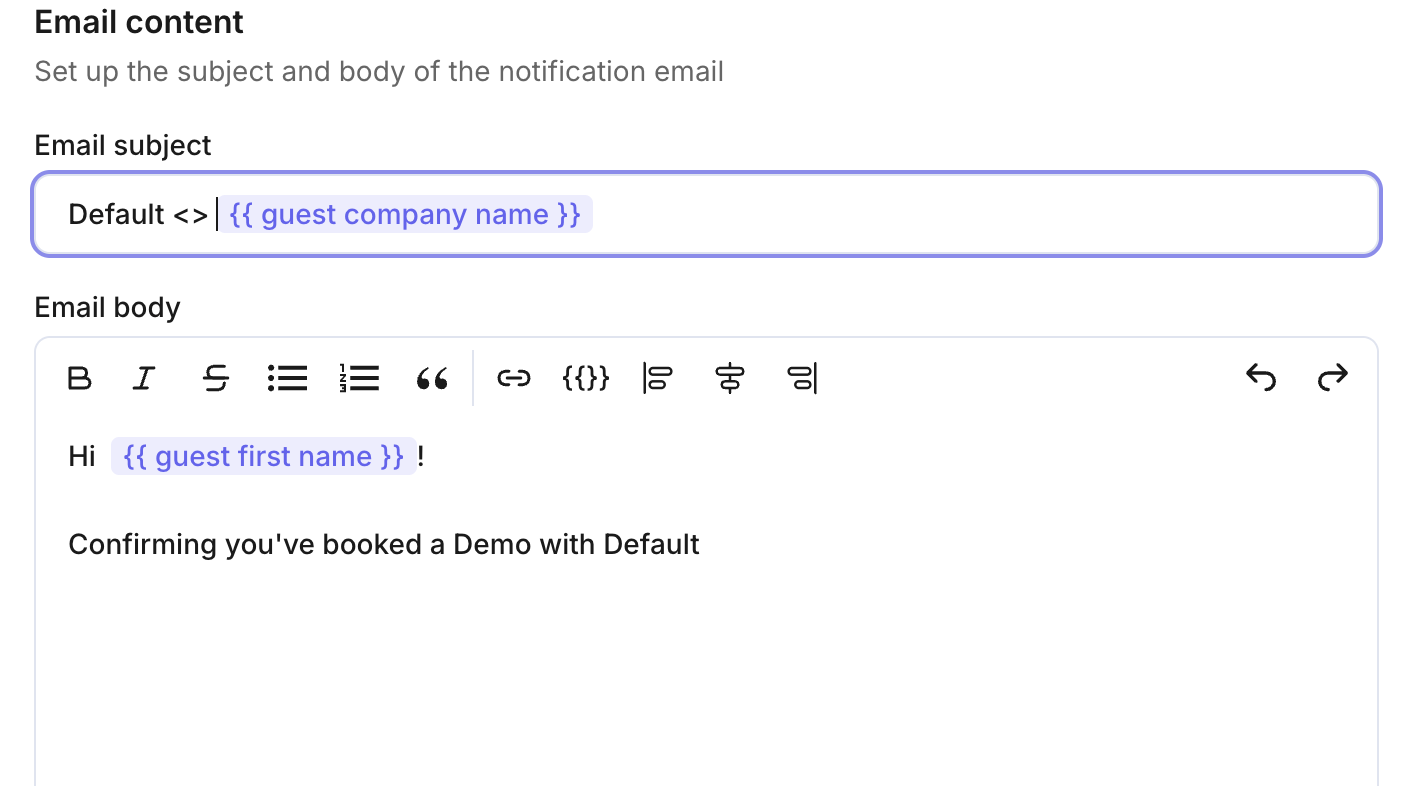
Step 4: Set up the email subject and body of the email notification. Use "{{" to add a dynamic field to customize the messaging.

Tip: Customize notification messages so the {{Host}} and {{Guest}} receive different information. Tailor each message to share relevant meeting details with the attendee, and provide the appropriate information to the invitee.
Step 5: Use the toggle to send the notification without Default branding.

Step 5: Publish the templated notification.
Step 6: Return to the event to add the notification.
Step 7: Click on the event, scroll down to Communications and Notifications.
Step 8: Click Apply template.
Step 9: Select the intended template.
Step 10: Re-publish the event.