HubSpot Forms
Capture website leads instantly without requiring a traditional form. Simply add our JavaScript snippet to your header tag to begin collecting visitor responses. See below for more instructions.
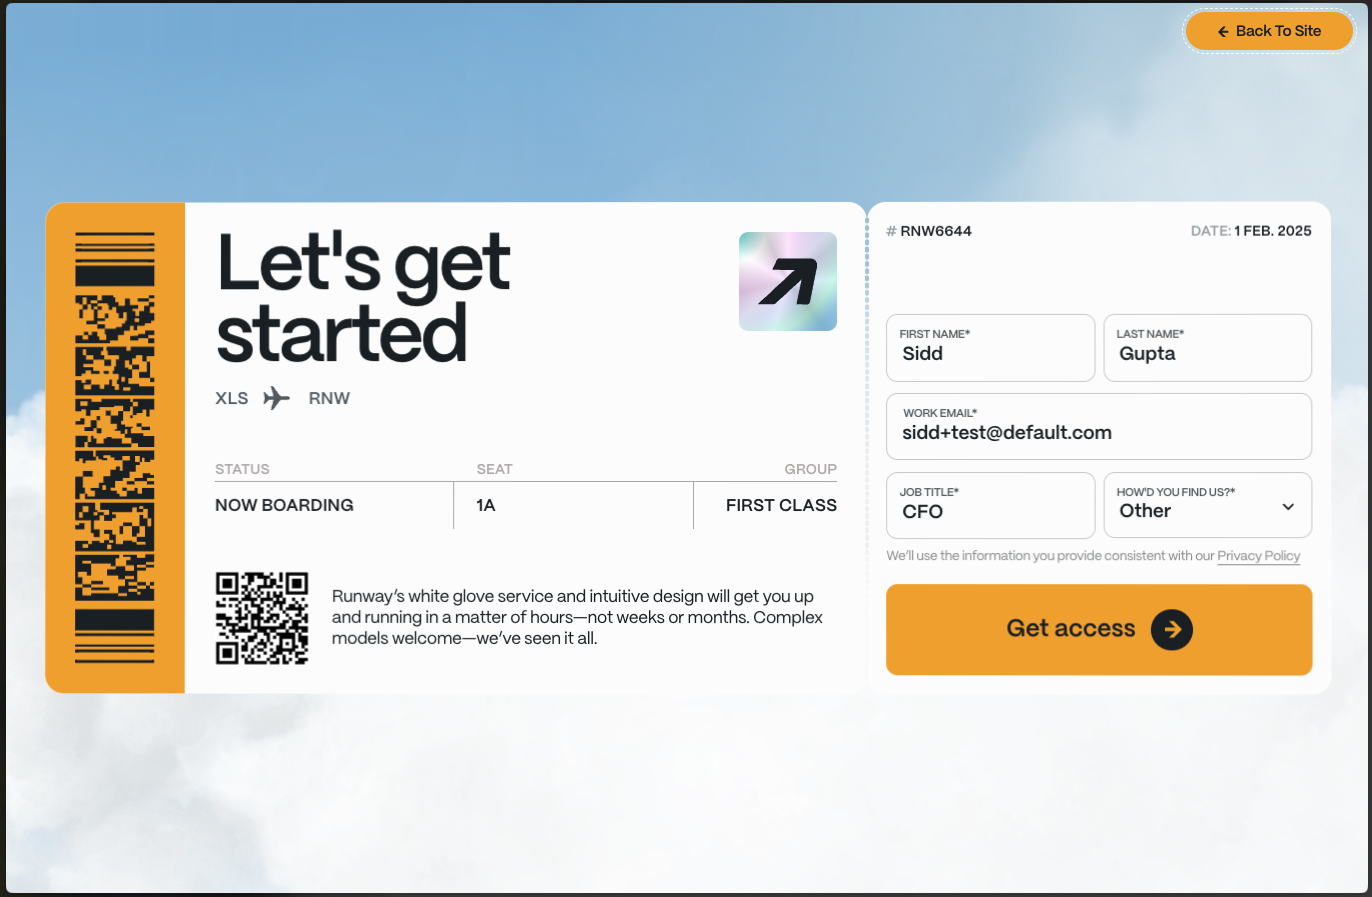
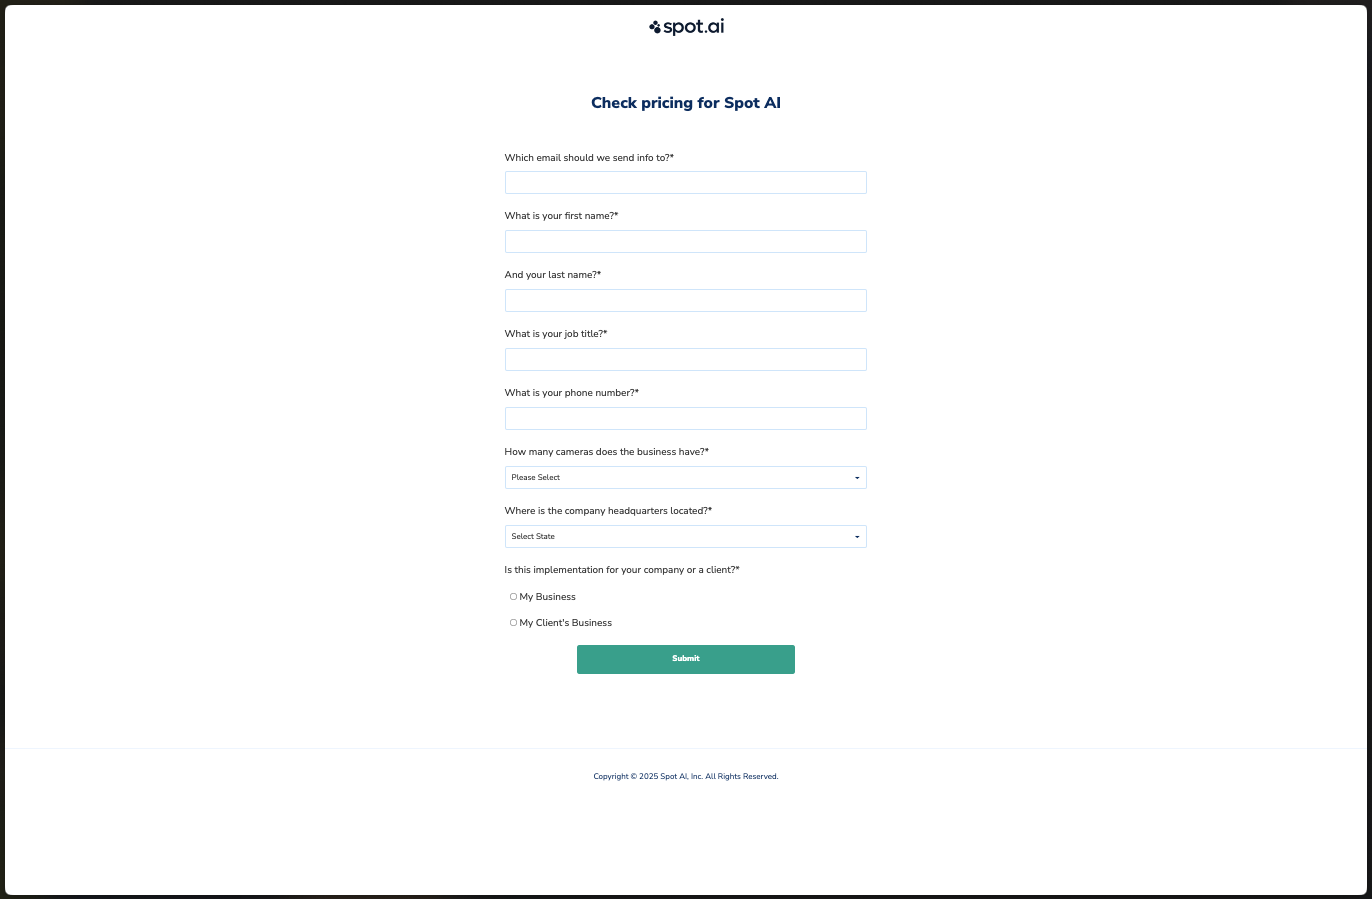
HubSpot Forms are used by customers like Runway and Spot AI!
Implementation
Step 1: Connect your Webform
Go to Navigation > Forms > Webforms. Select the Connect your Webform option.
Step 2: Select HubSpot form
Choose HubSpot as your form type and copy the provided snippet. Your engineering team will need to add this snippet to the <head> section of your webpage.
Your snippet should look something like this:
<script> (function(w, d) { w.__default__ = {team_id: xxx, form_id: xxxxx}; var s = d.createElement('script'); s.async = true; s.src = 'https://import-cdn.default.com/v2/index.js'; d.head.appendChild(s); })(window, document); </script>
Step 3: Identify your form
Specify how you’ll identify the form on your webpage by choosing one of these methods:
Adding the unique identifier to your
<form>tag.Adding the code to your form wrapper.
Place a
<div>around your form.
Then select “I have my form identification.”
Step 4: Test connection
Test your setup by submitting a sample response through your web form. After submission, map all required fields to complete the configuration.
Warning: Make sure your HubSpot form is not redirecting to another page on form submission, otherwise that will prevent Default from being able to parse your responses.
Step 5: Map form fields
Map the Email field from your form submission when prompted. This is a required field for all forms. Other fields can be mapped to Default lead attributes.
Note: Not all of your form fields need to be mapped to a Default field attribute.
HubSpot Form examples
Runway

Spot AI
