Workflows FAQ
How does the Clearbit integration work, and how can I use it in my workflows?
A: Clearbit is already integrated into the product, so there's no need for an additional integration step. Enrichment occurs automatically without adding a Clearbit enrichment block. You can add a condition in an IF/Else block to source data from Clearbit (blue icon) or use Clearbit to update the record in an update record step/block.
Can I create an event in Salesforce from my workflow?
A: You can create a SFDC event by adding a "Create SF Record" step to your workflow. After adding the step, you need to map the fields within the create step to successfully create in SFDC. Common fields to map include: Assigned to ID (Meeting booked owner/Meeting host), Related to ID (Account ID/Opportunity ID), Name (Contact ID/Lead ID), Meeting Duration (Duration), Start Date/Time (Meeting Start Date/Time), and Subject (Title).
How do I label a workflow step or logic block?
A: Yes, you can add a label and/or description to any object within the workflow. Doing so provides organization and helpful when auditing workflow logs.
Click on an if/else logic block you want to label.
Add a step name by erasing the given step name.
Updates save automatically.
Can I remove an object(s) from a workflow?
A: Yes, you can delete an object or more than one object by following anyone of these steps.
Click on the object and remove object by selecting the "Remove block" button on bottom right.
Click on 3 dot icon from a workflow object, select delete.
Using your keyboard, click on Shift.
Then with your cursor, click on the canvas to the side of any of the object(s) you wish to remove.
Drag the cursor across those objects.
Select Delete
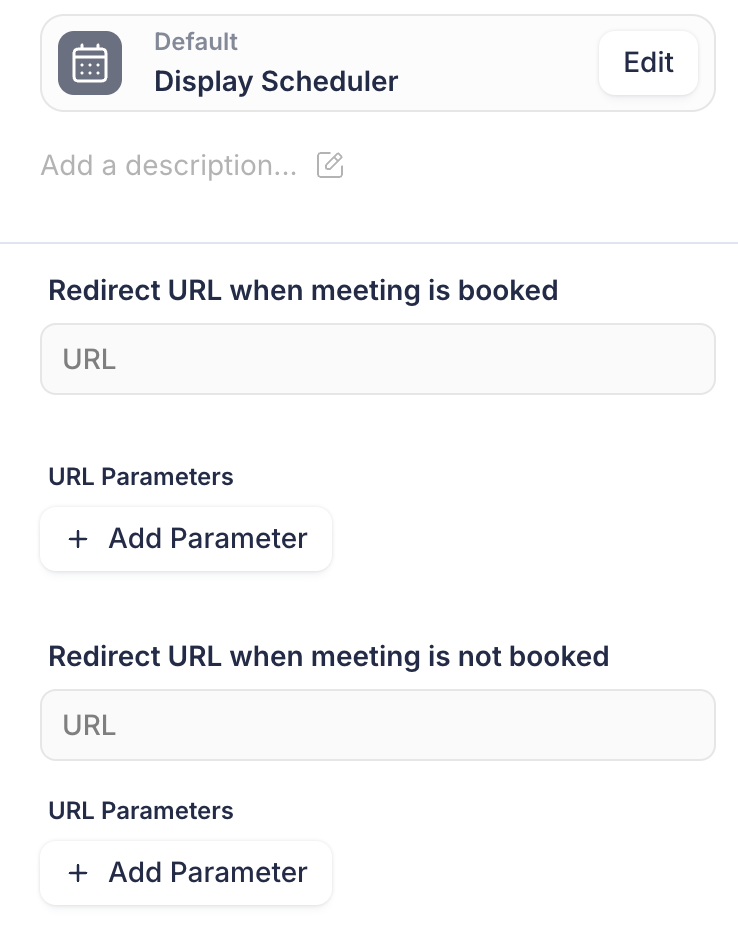
Can I redirect a lead once a meeting is not booked?
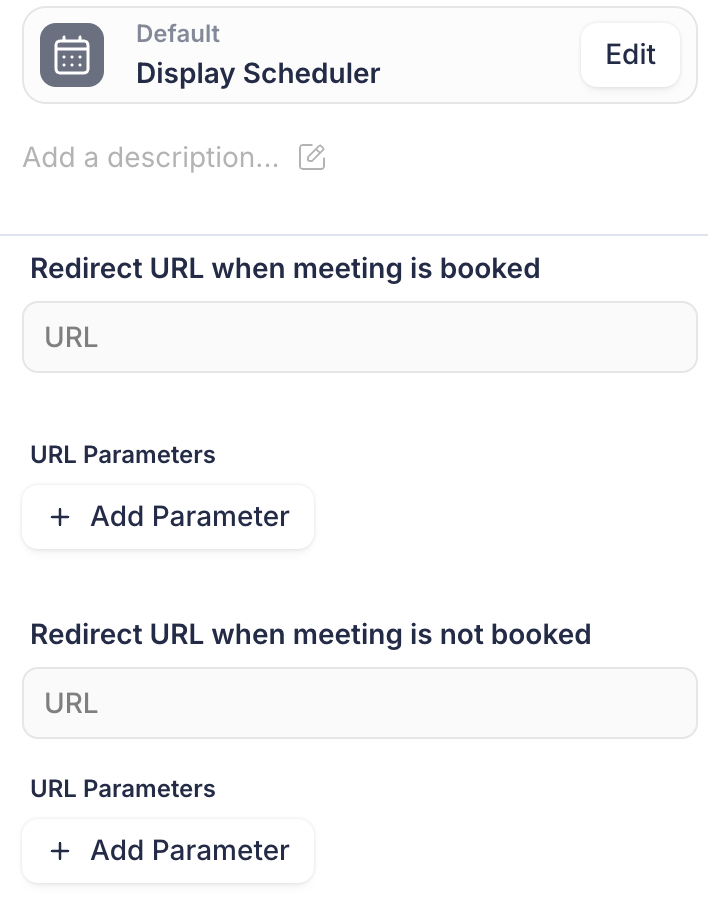
A: Yes, redirecting a lead to a URL can be configured through the Display scheduler.
Click on a Display Scheduler within the workflow.
Scroll down to Redirect URL when meeting is not booked.
Add URL
Optional: Add URL for when a meeting is booked
How do I update a redirect URL?
A: You can update the Redirect URL in your workflow to ensure users are directed to the correct destination. The URL can be updated from a Redirect to URL object or within a Display scheduler object when a meeting is booked or not booked.
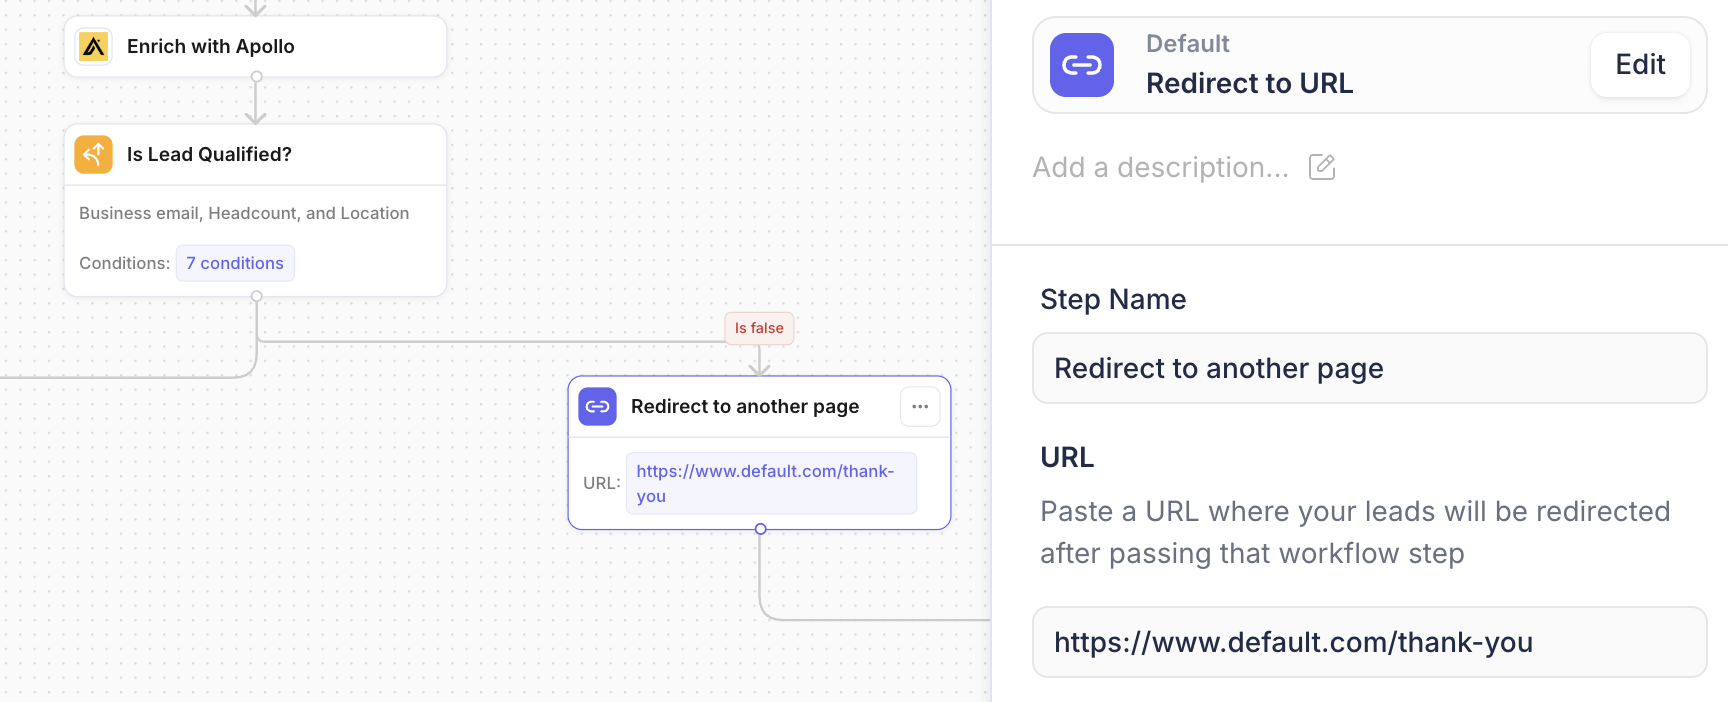
From a Redirect to URL object
Click on the Redirect object, go to URL field.
Paste or Remove the URL.
Add the redirect URL in the provided field.
Confirm the changes by saving existing out of the object.
From a Display Scheduler object
Click on the Display Scheduler object, scroll down to the Redirect URL when a meeting is booked/Redirect URL when no meeting is booked field.
Paste or Remove the URL.
Confirm the changes and existing out of the object.
I'm getting an Attio error that a record already exists or conflicts with one already in the system
Attio has a sync feature where People and Companies are automatically created from calendar events. If your workflow is attempting to create a People or Company object after a meeting is booked, you may be trying to create one after the Attio sync already has created it. Default recommends adding a time delay node to start the meeting booked branch of your scheduler node, so you can delay for 2 minutes and allow Attio's sync to complete. After that you can try matching to the Company or Person object, and then create it if it still doesn't exist.
How can I send messages to Slack if the channel is private?
With Default's Slack integration, you can send notifications to both public and private channels. This guide will walk you through the steps to configure this feature.
Steps to Send Messages to Private Channels
Add the Default bot to the desired private Slack channel.
Refresh your workflow in Default.
Once refreshed, you should be able to select the private channel from the dropdown menu in your workflow settings.